Large new house with waterproof concrete basement

Project Overview

New house built with a waterproof concrete basement as its foundation. Waterproof concrete creates an integrally waterproof structure, this makes waterproofing efficiency much higher.

For this project, the biggest challenge was the high and active water table throughout the build. The high water level and make up of the ground would lead to very wet and dirty conditions, something that is not acceptable for creating a waterproof concrete structure.

This basement was a technical challenge for many reasons. If you have a similar project, take a look below as to how we carried this out, contact us for more information or get a quote today

Project Details

Description

Categories:
Location: Scraptoft, Leciestershire
Surface Area: 156 square metres
Completed: 2016
Architect: Clark, Birch & Perkins Architects

Stage 1

 Excavation and Stabilisation

Step 1 in this waterproof concrete basement build, out the plot of the house, including the basement and excavate. Once the excavation reached formation level, the banks are “battered” back at a safe angle. For this project and its wet clay soil conditions, above 1m the banks were angled at 45o.

The base of the excavation could then be prepared for the basement works to come. A 150mm perforated land drain was laid at the edge of the dig, around the perimeter, leading to a sump. The banks were covered with a geotextile membrane, lapped over the drain, allowing any water that came from the ground to run into the land drain and be pumped way.

Finally, a damp proof membrane was laid across the whole floor and covered with 70mm of blinding concrete. This gives the team a dry, clean, and hard platform on which to work

Stage 2

Basement Construction

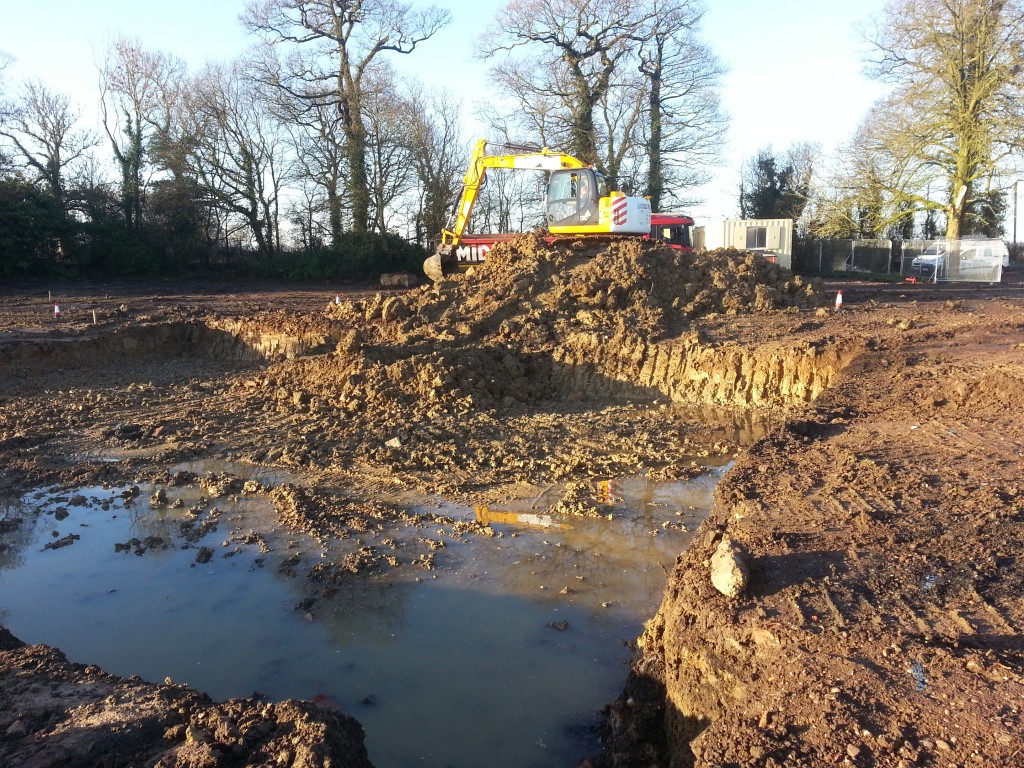
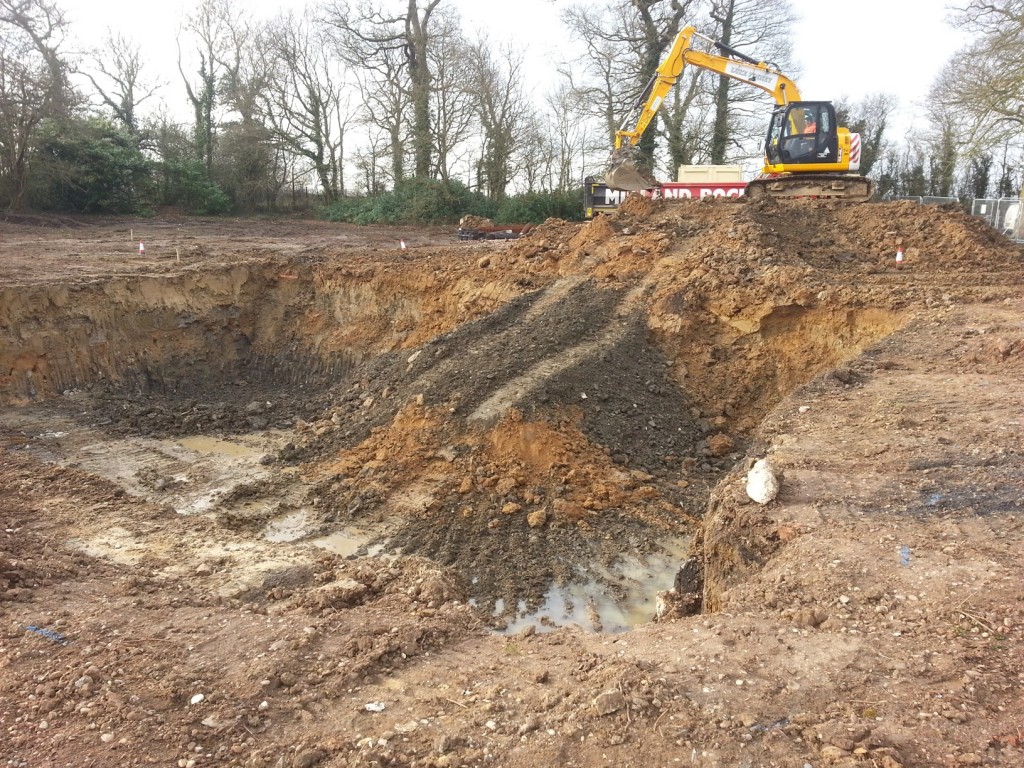
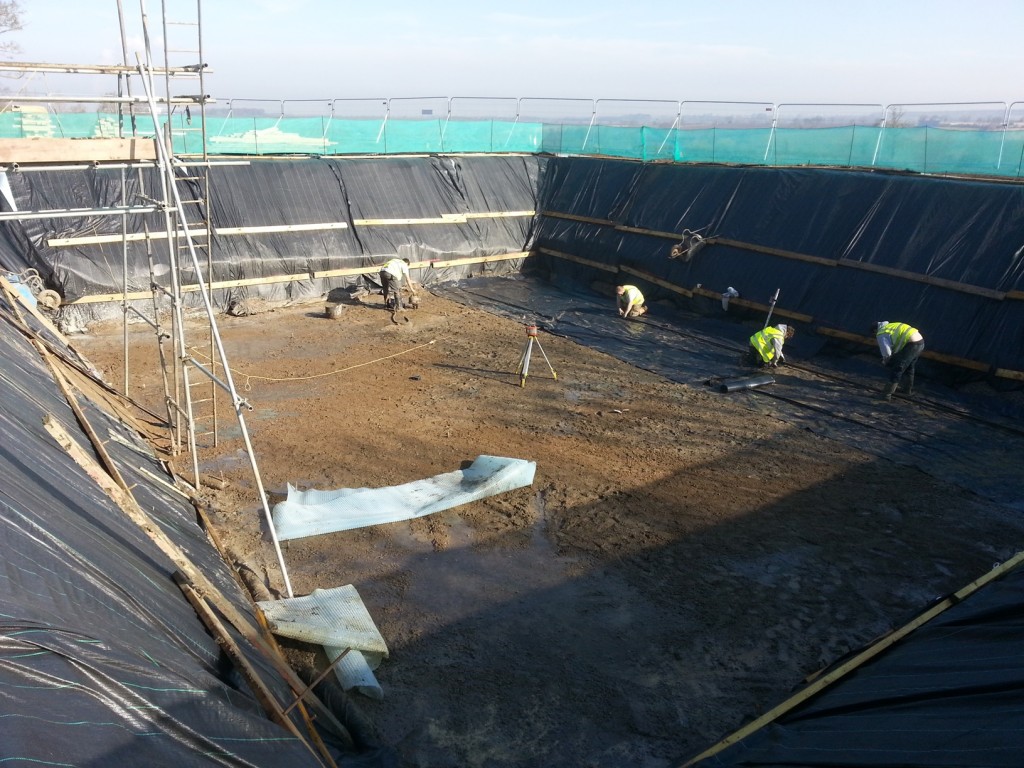
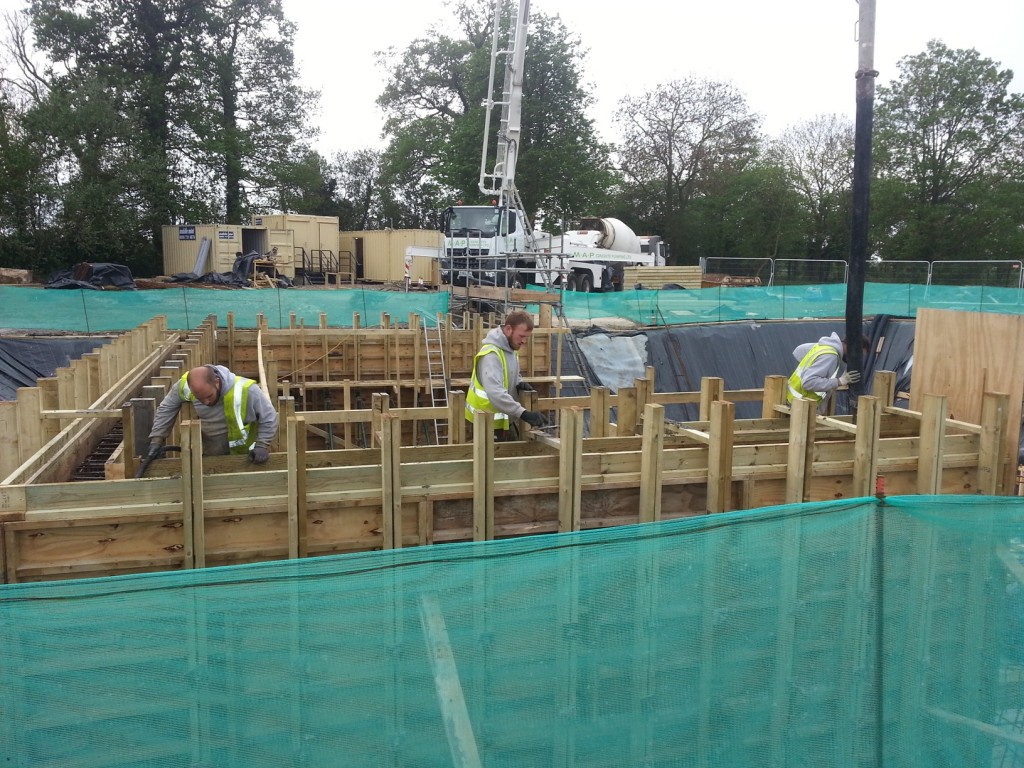
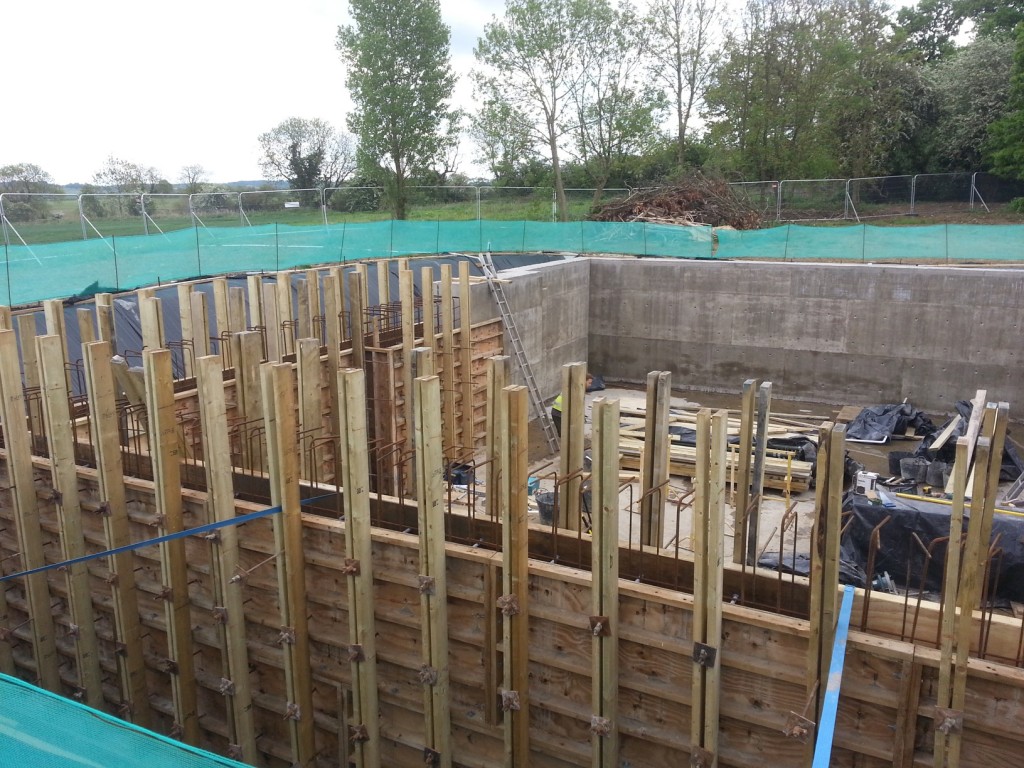
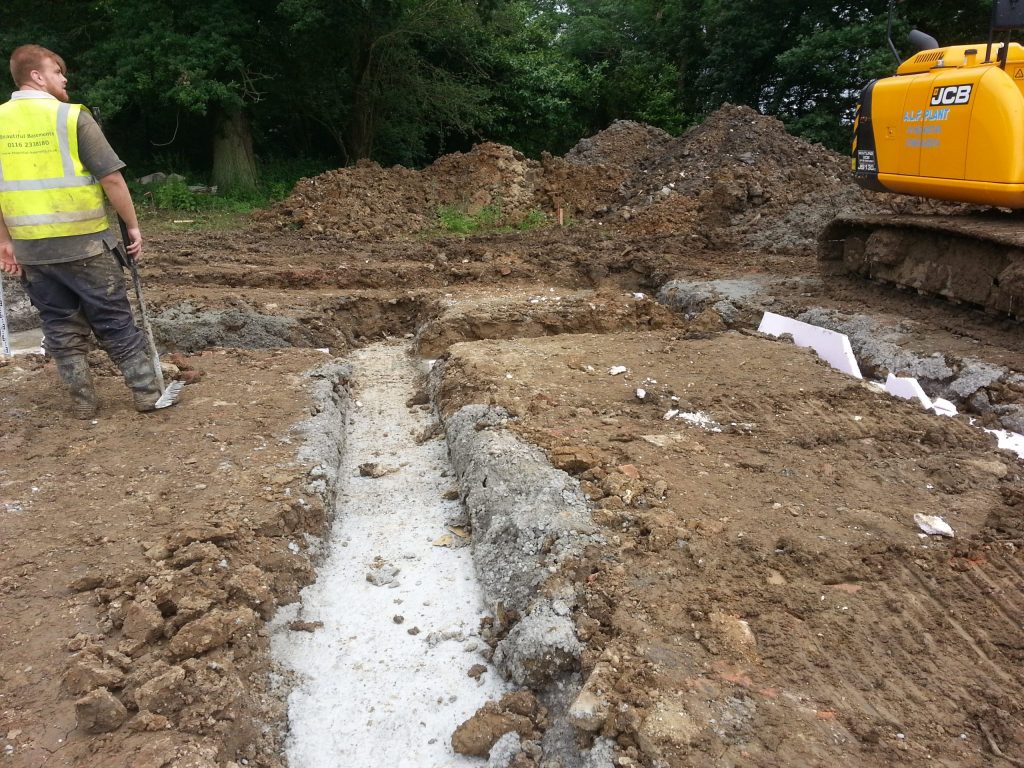
With the site and excavation stable, the basement could begin construction. The first task was to set out where it would sit and install shutters around the perimeter. These shutters were then propped to be level and straight.

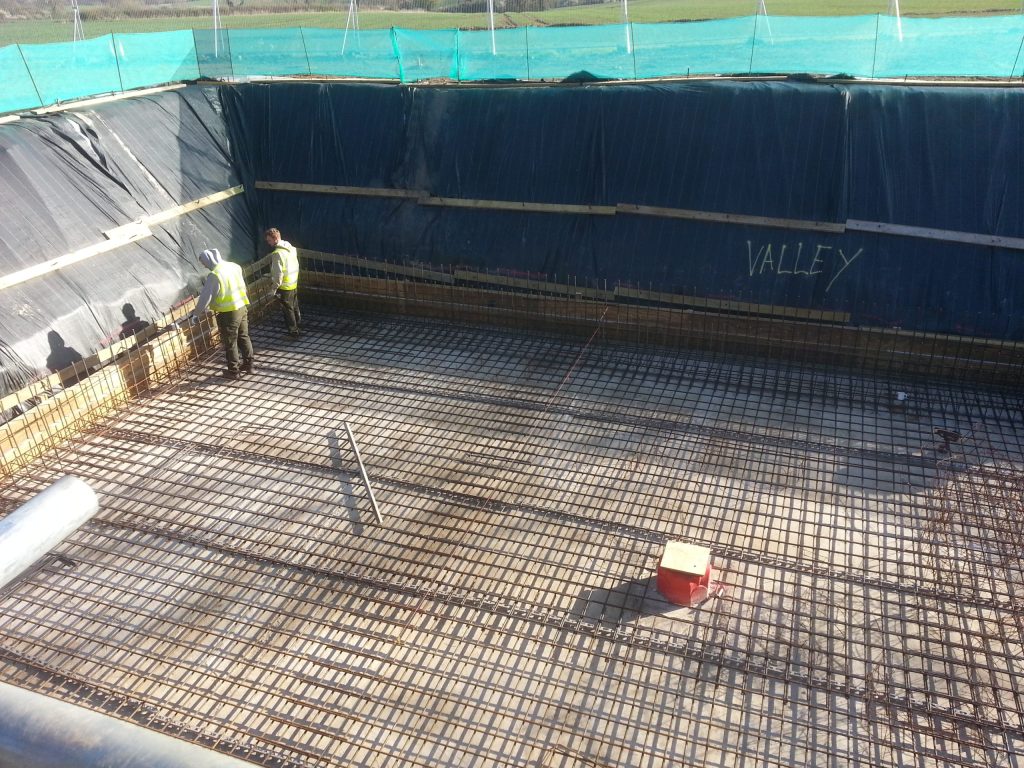
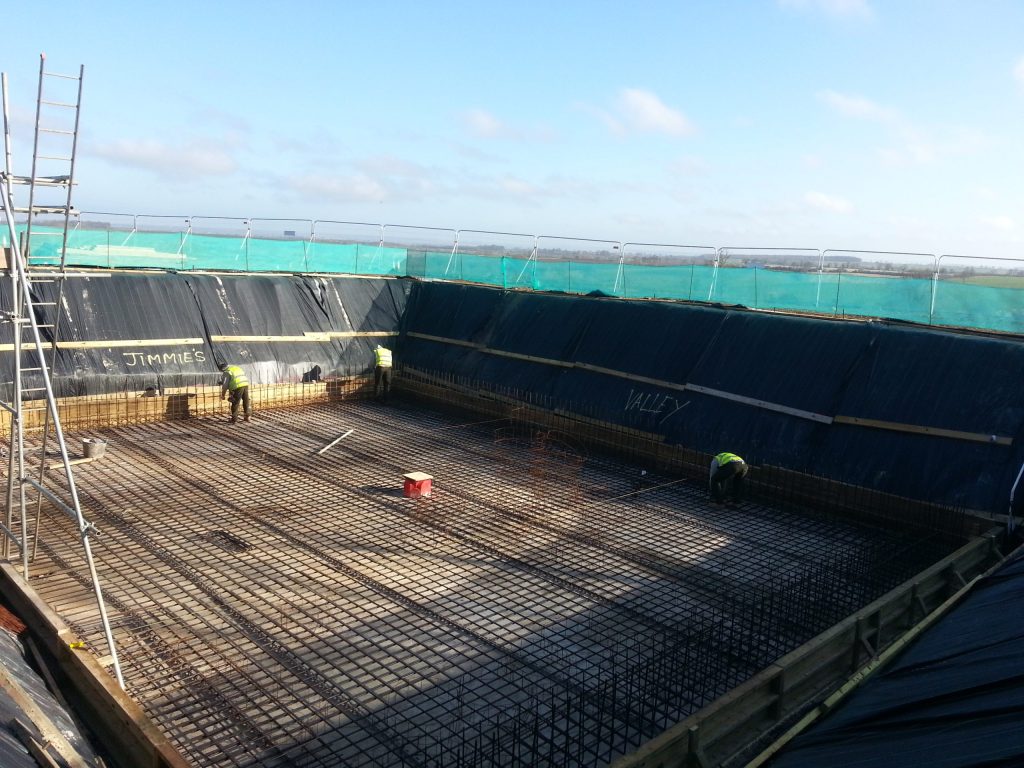
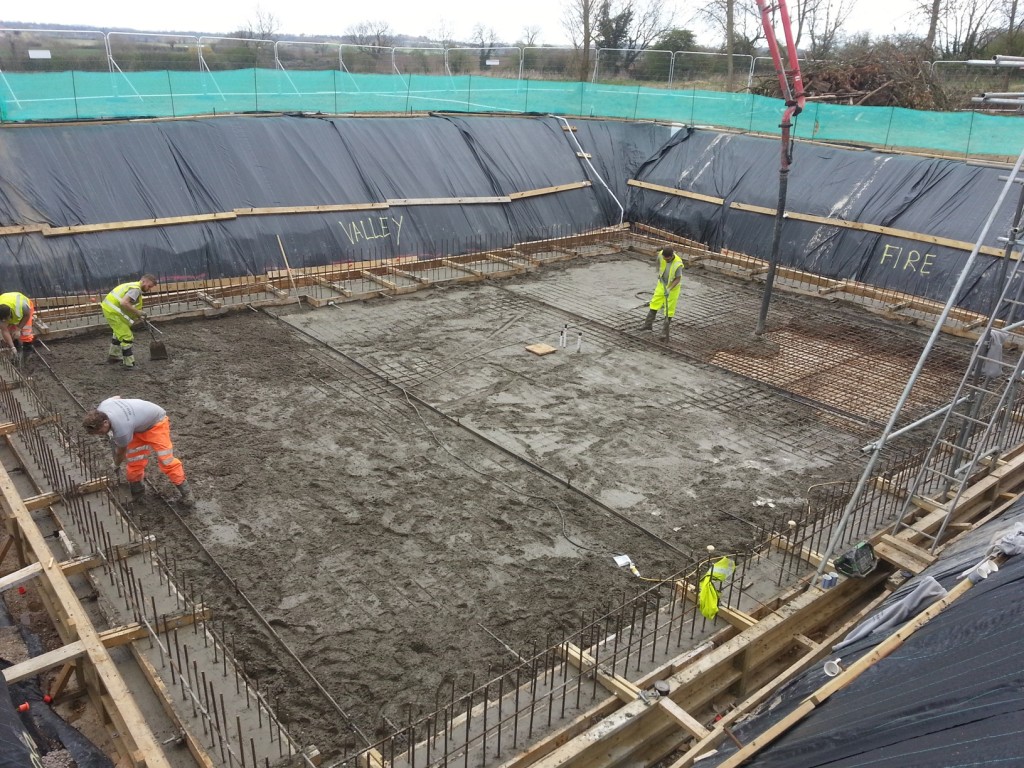
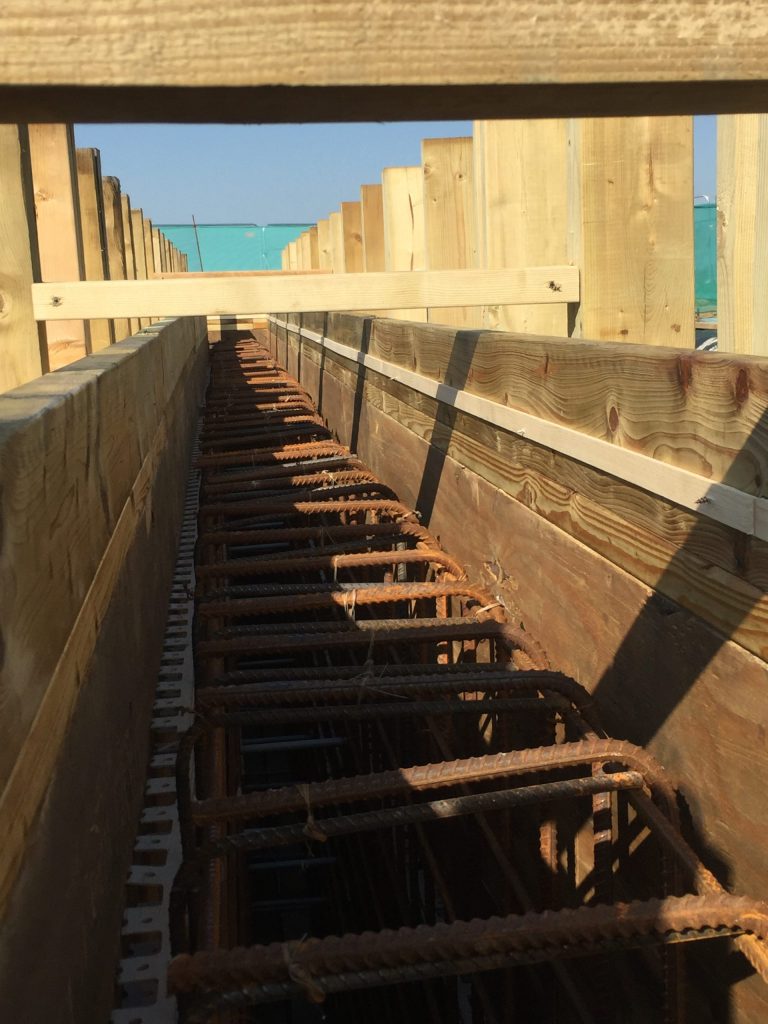
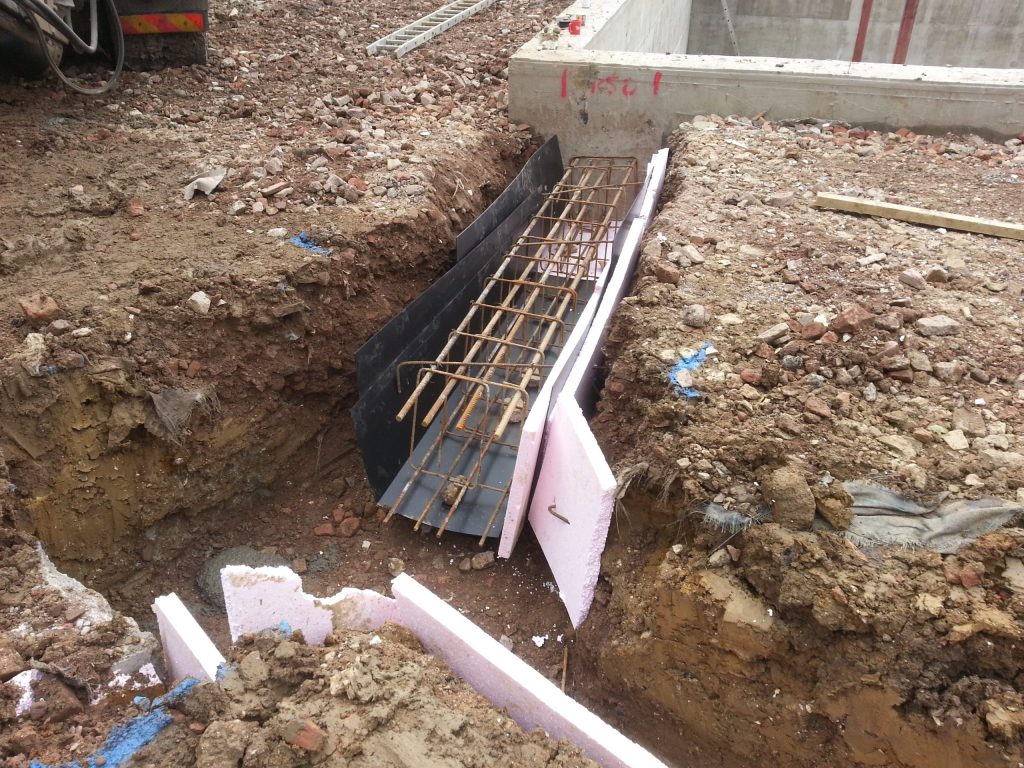
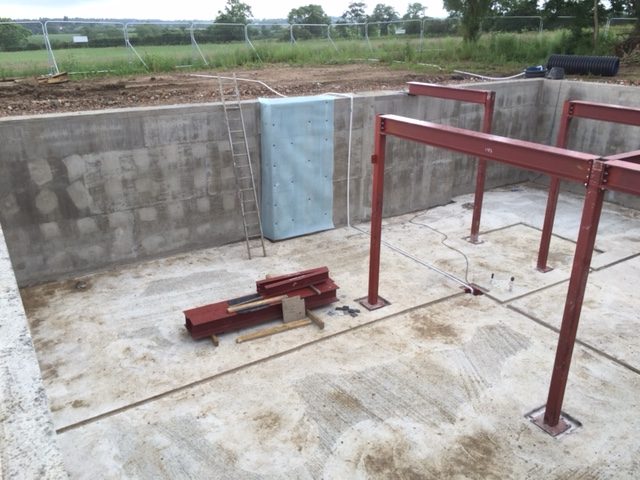
Steel reinforcing was built up in layers and bars installed to link the slab to the walls, these “starter bars” were also built in layers.

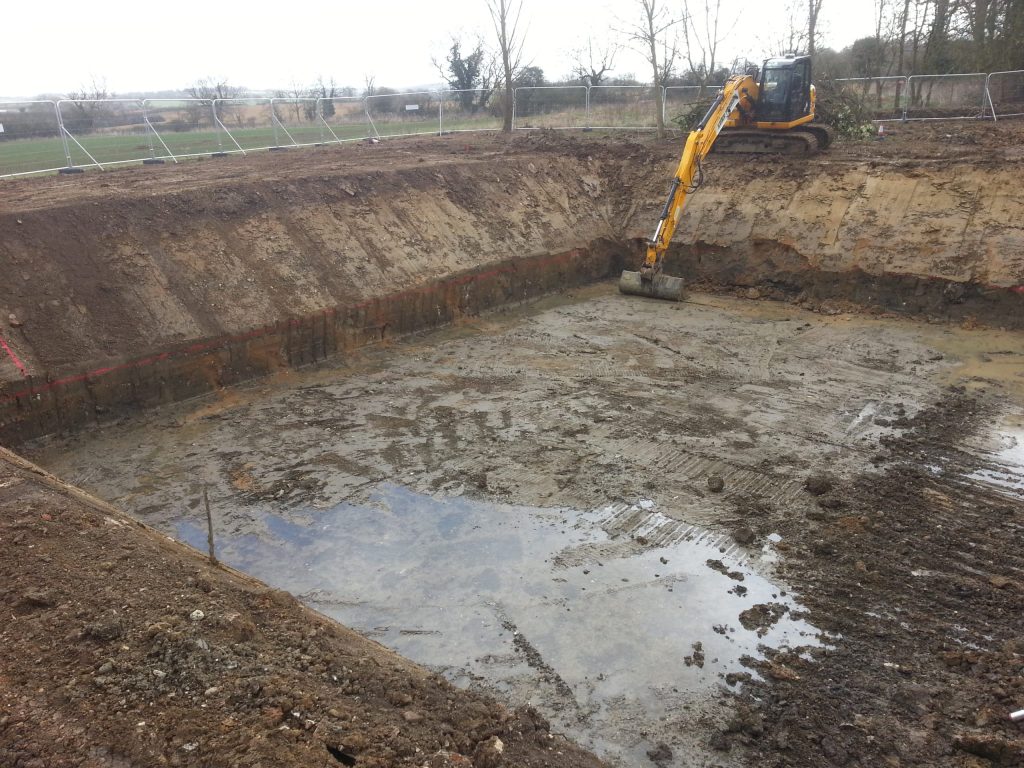
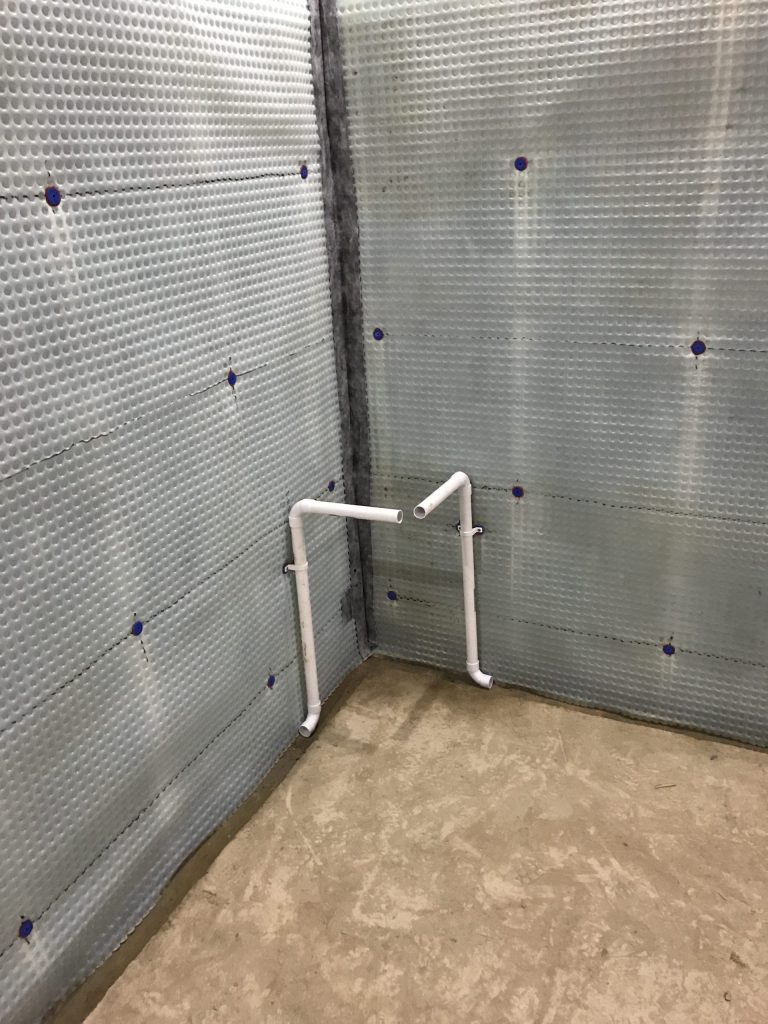
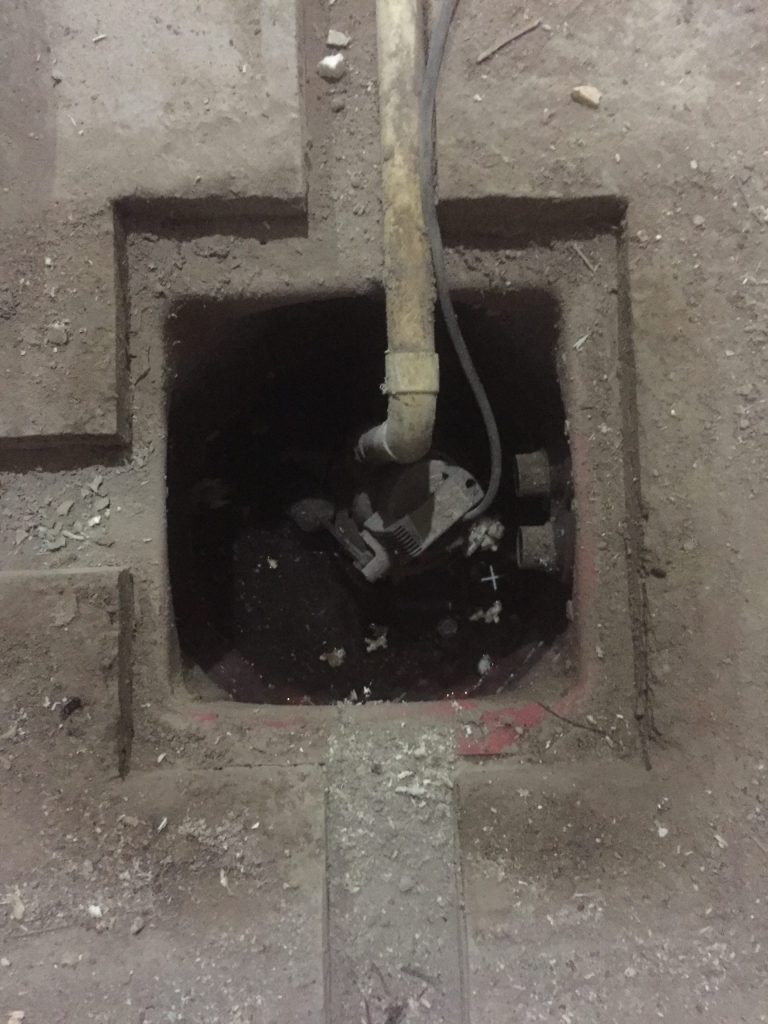
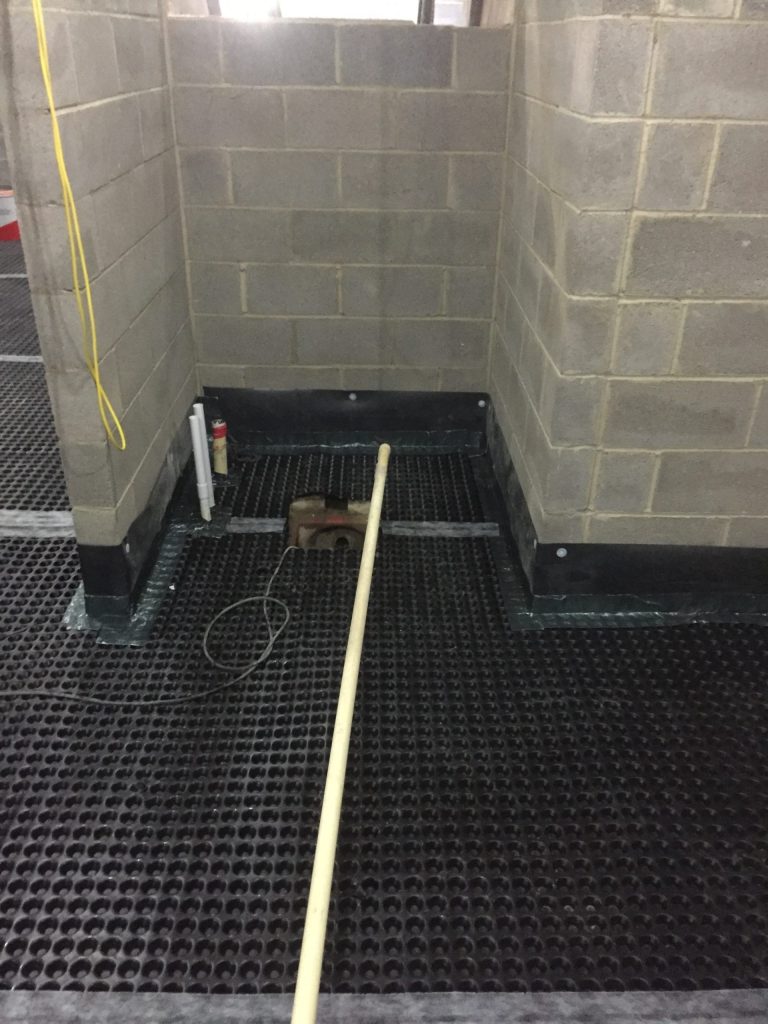
A ground water sump was cast in the middle and the levels for the slab were formed. Finally, a 150mm upstand known as a “kicker” was built. This kicker forms the first 150mm of the walls and aids in waterproofing. Within the kicker construction a channel was created, allowing an expanding water-stop to be installed later.

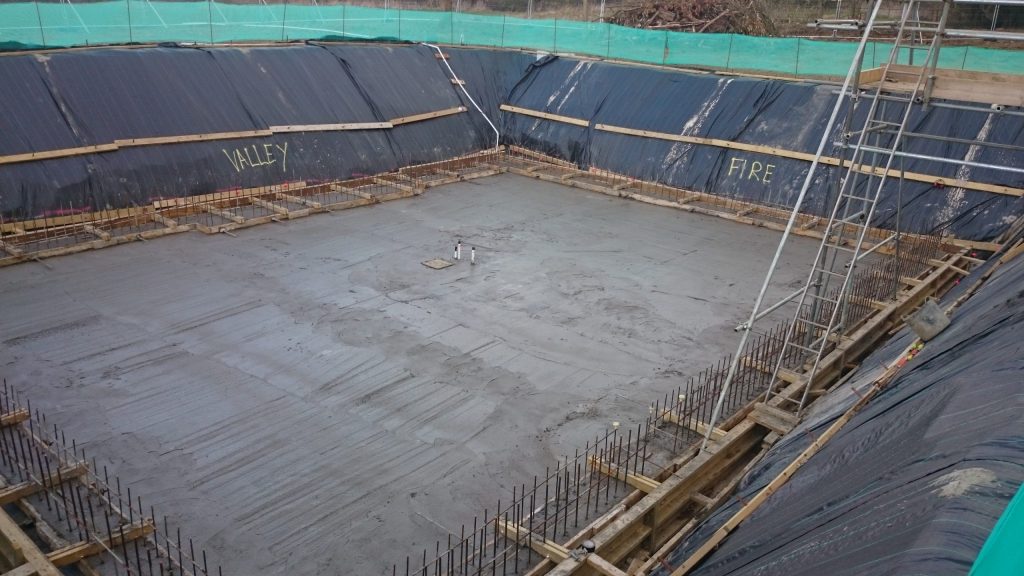
The slab was then cast in waterproof concrete and left to cure for three days.

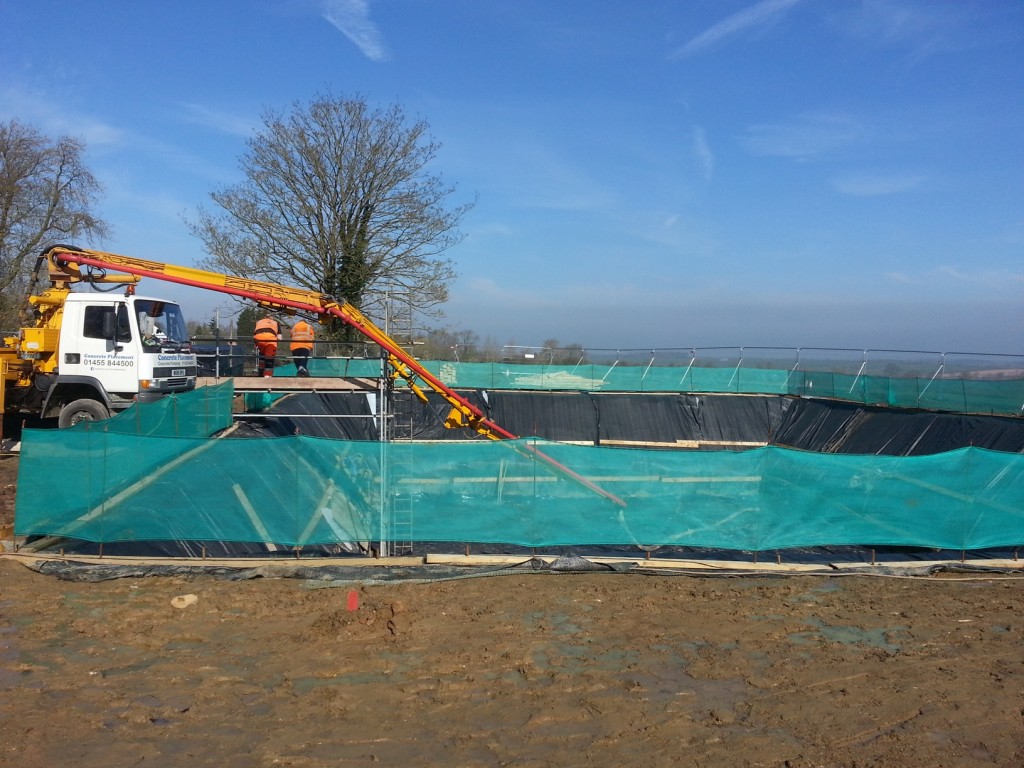
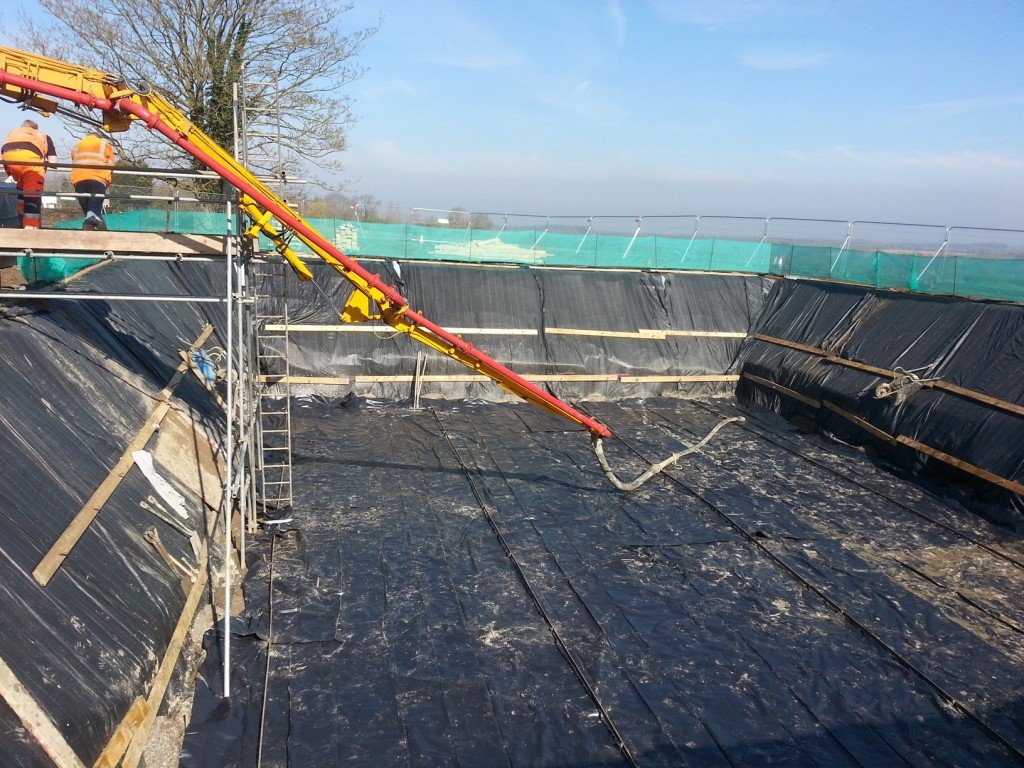
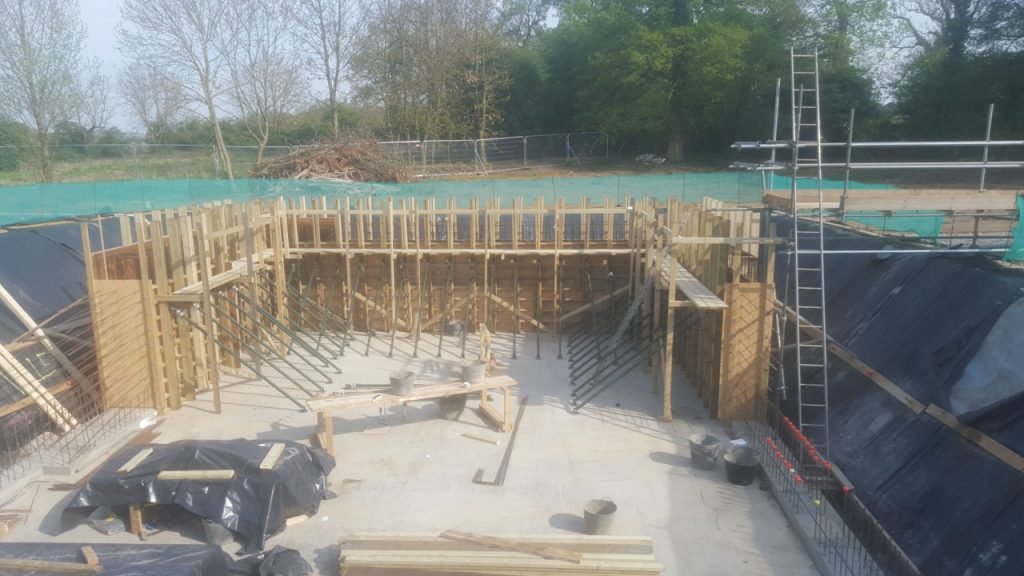
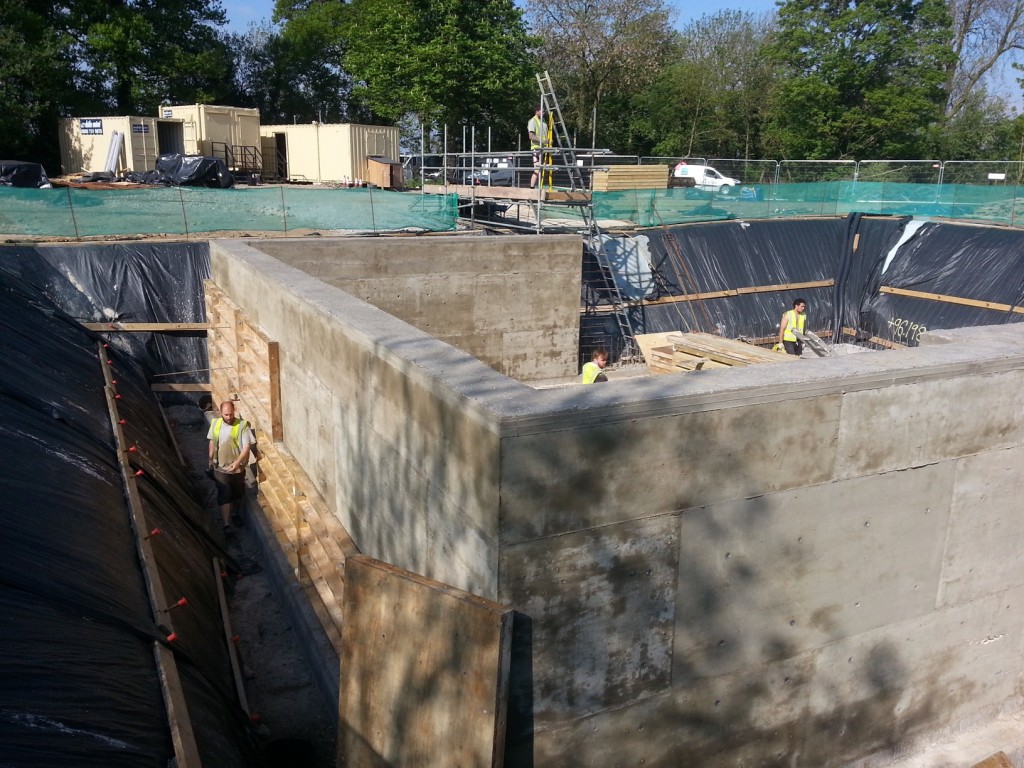
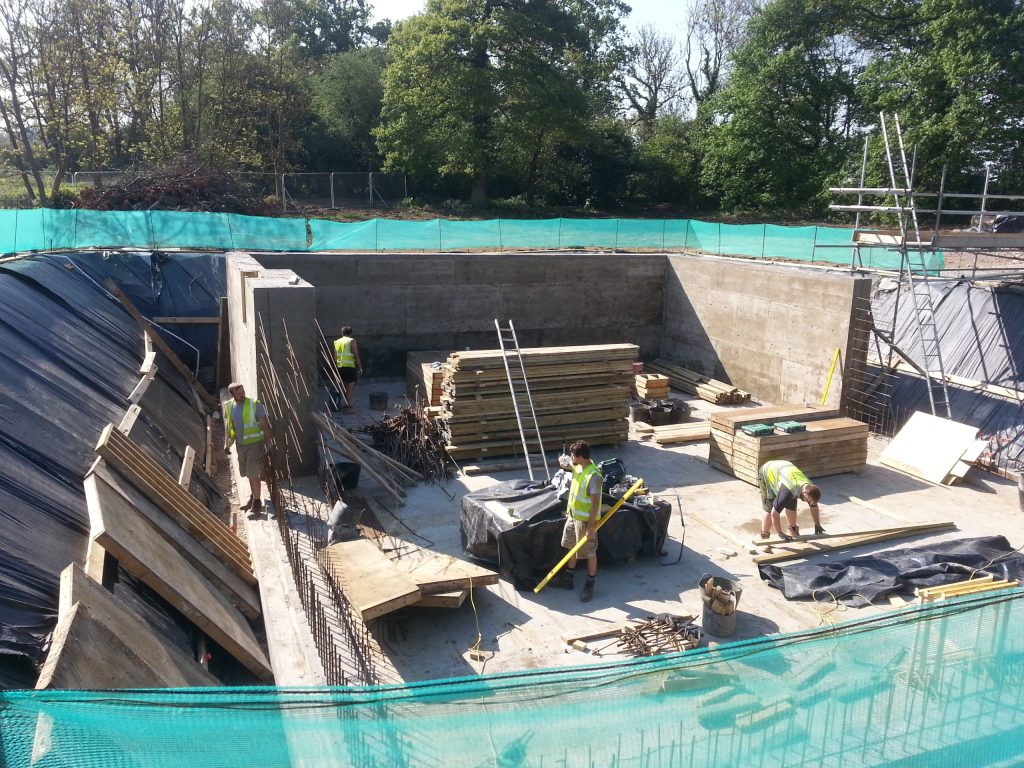
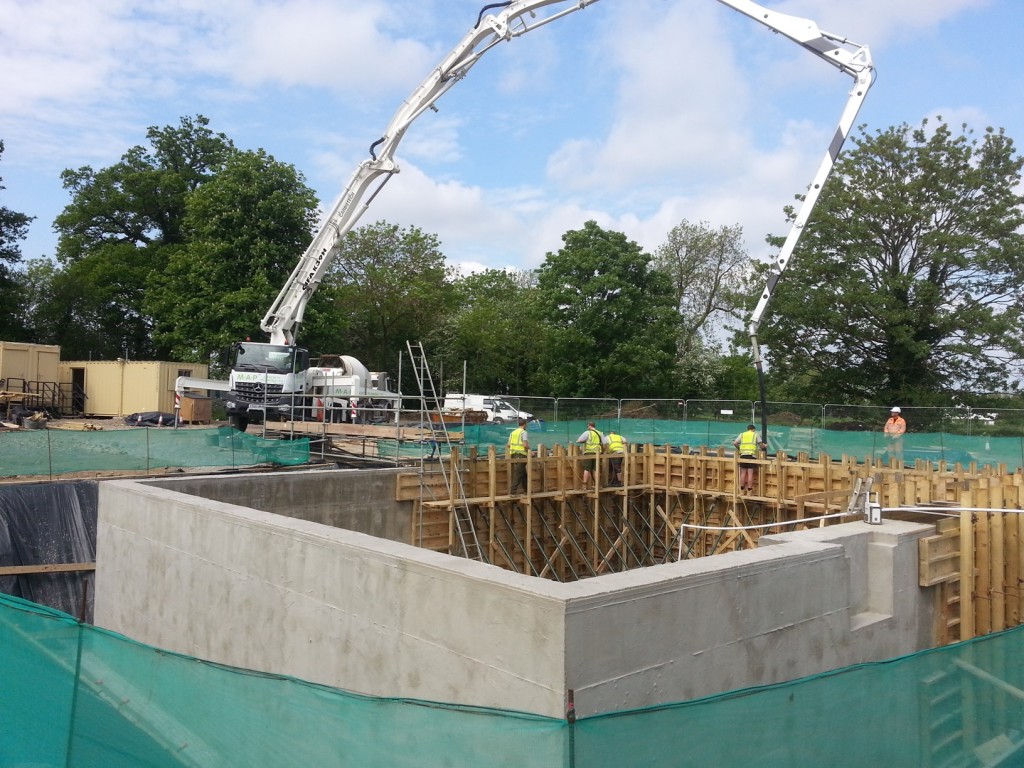
With the slab completed, the walls could be built. As is usual in concrete construction, the walls were built in halves to avoid cracking. Temporary timber shutters were erected externally, the expanding water-stop installed, and steel reinforcing linked to the starter bars.

Once the external shutters and steel were complete, the internal shutters were erected and the everything was braced and strengthened ready for the concrete pour. A temporary scaffold was constructed, and the waterproof concrete was then poured.

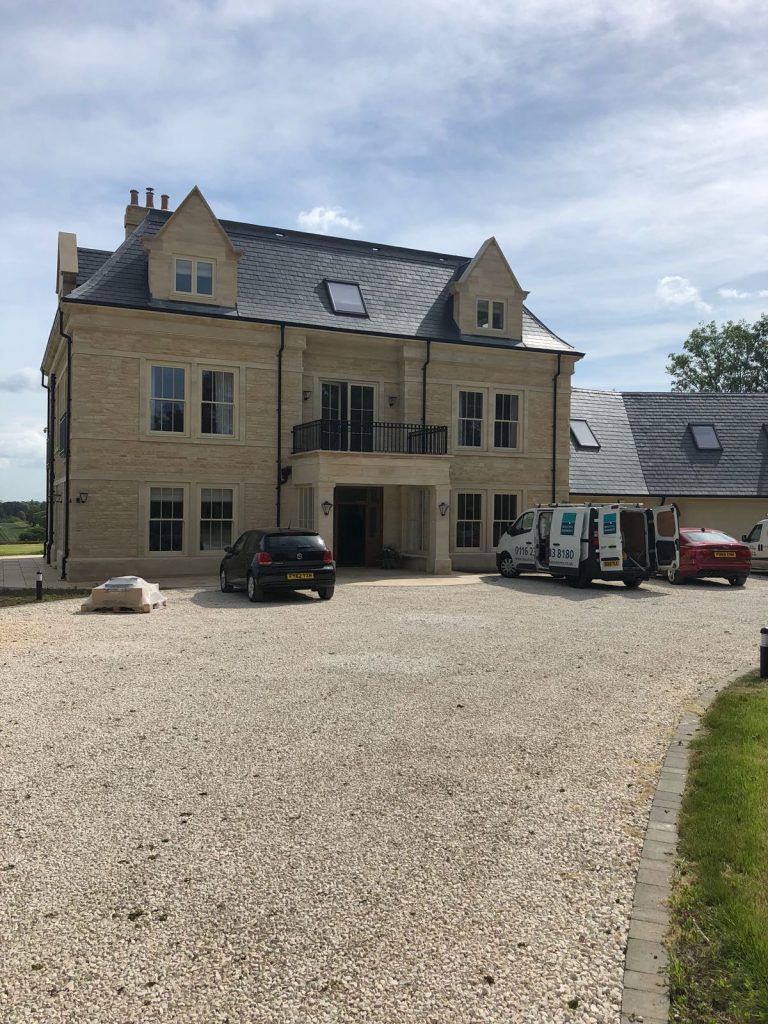
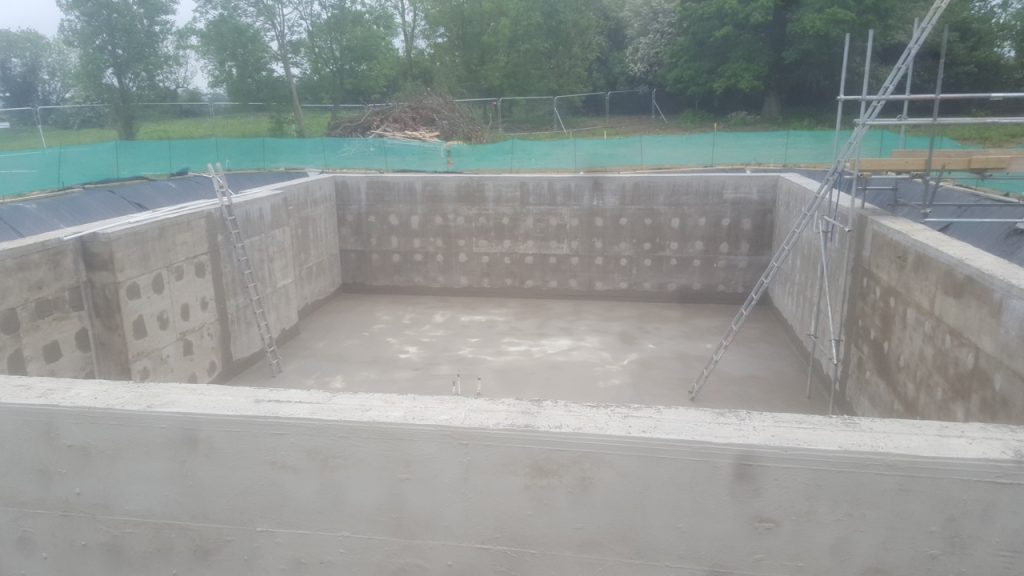
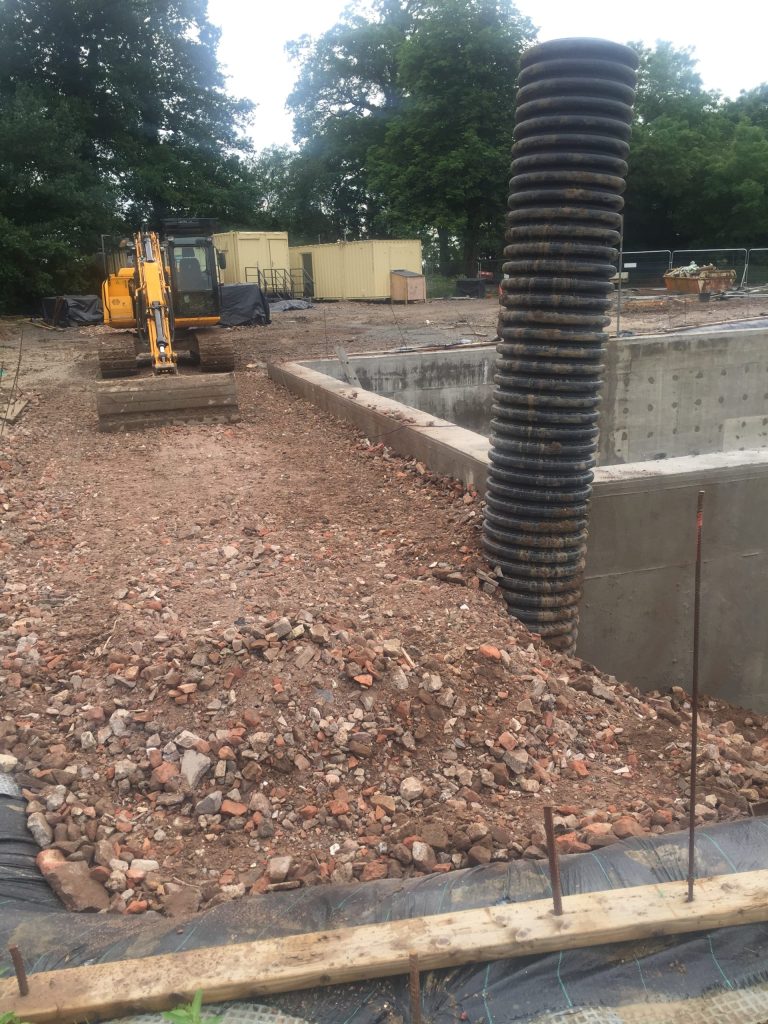
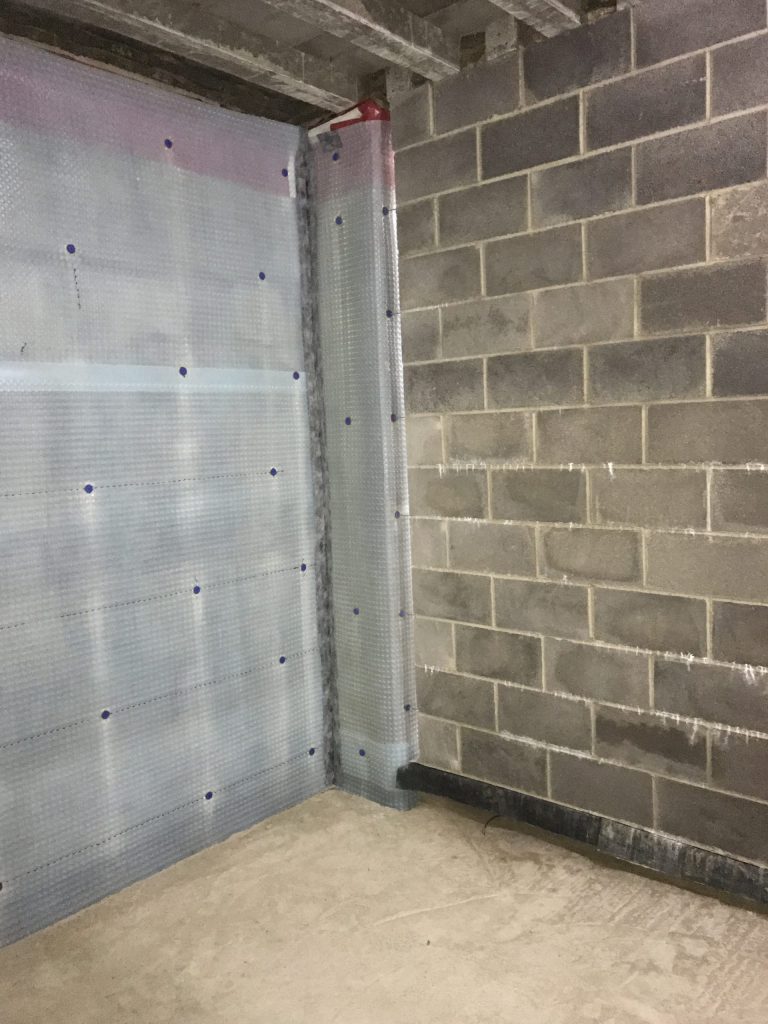
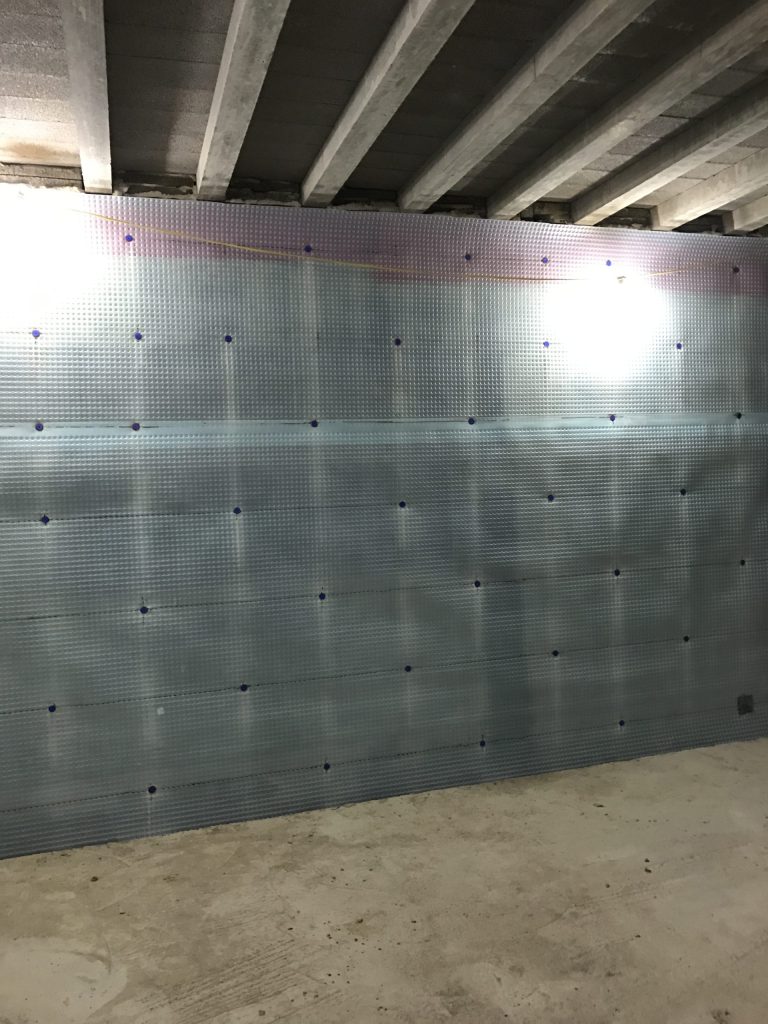
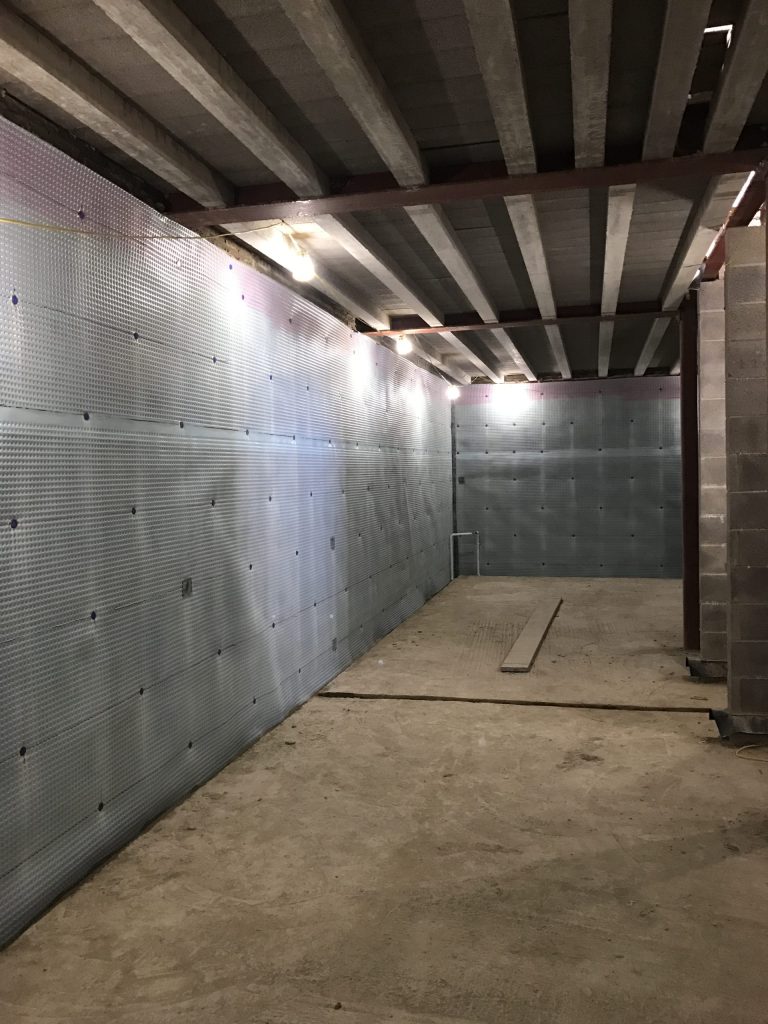
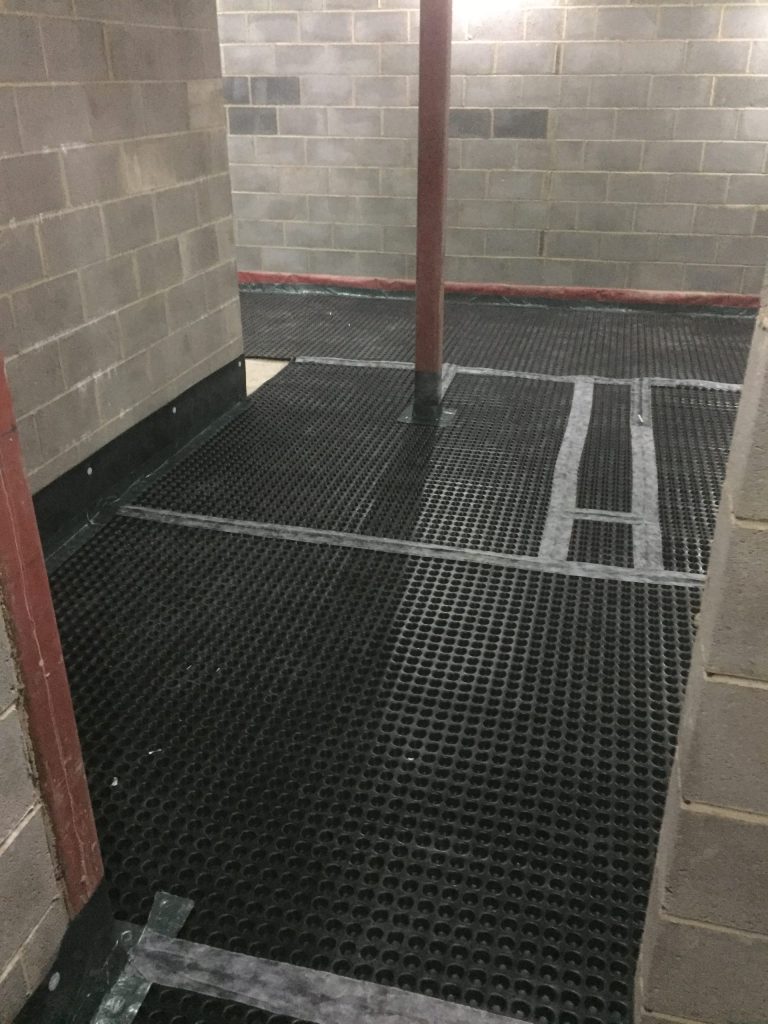
With the second half constructed in the same manner, the waterproof concrete basement was complete. Forming a waterproof concrete basement shell. A manhole riser was fit around the external sump and the whole excavation backfilled in layers and compacted. To make ready for the rest of the house build, foundations were joined to the basement walls at the top of the backfill.

Stage 3

Waterproofing & finishing

This basement has two independent waterproofing systems.

Type B – Integral protection

The concrete in both the walls and floor have an additive which is mixed at the concrete plant, making waterproof concrete.

All construction joints and protrusions have expanding water-stop and hydrophilic slurries applied to them

Type C – Cavity drainage protection

This is the back-up waterproofing system, installed in case any water migrates through the waterproof concrete.

The walls are lined with cavity drainage membrane and then linked via the floor to the sump & pumping station. For this design, the main waterproof concrete slab would fall gently towards the centrally located sump, allowing any water to run via gravity to the sump.

Finally the floor was covered with cavity drainage membrane and maintenance points installed.

All waterproofing materials supplied by Triton Systems

Take a look at some of our similar previous retrofit basement projects. Or click below to contact us and get a quote